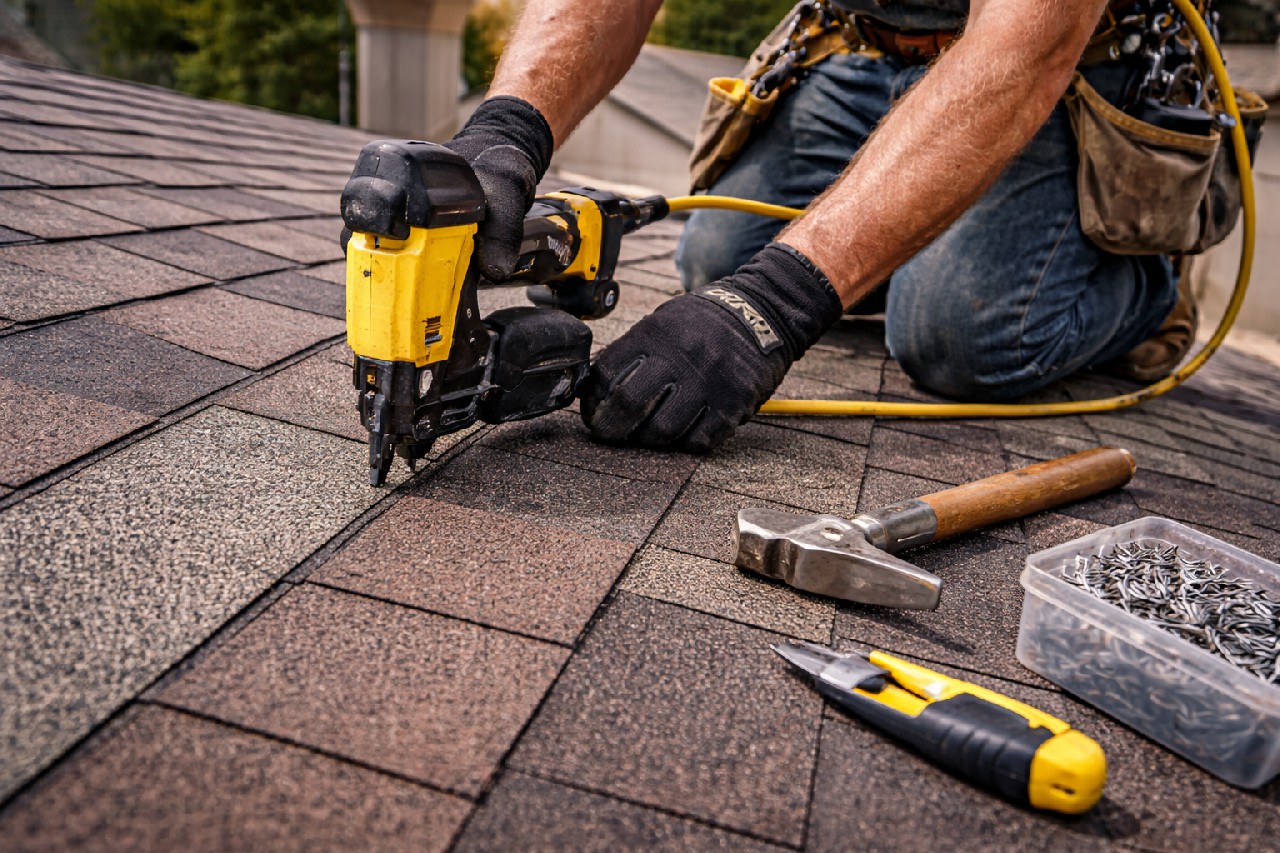


⚡ TL;DR: This guide walks Denver homeowners through roof installation, addressing hail and snow challenges, material selection, prep steps, the full process, and maintenance for durable results.
📋 What You’ll Learn
In this ultimate guide for Denver homes, you’ll master roofing challenges from hail and snow, material choices, prep steps, installation processes, and maintenance for lasting protection.
- Conquer Denver’s unique challenges like hailstorms, heavy snow, high altitude, and wind to design roofs that endure Colorado’s severe weather without failure.
- Choose top materials for durability suited to brutal UV, ice, and temperature swings, boosting energy savings and extending roof life significantly.
- Prepare perfectly before install with inspections, permits, and site optimization to ensure compliance, safety, and smooth execution in local conditions.
- Master the full installation process from tear-off to finishing touches, plus case studies and post-care for warranties and peak performance.
📖 Reading time: 7 min
✍️ Author expertise: Denver roofing pro with 15+ years of field installs against hail and snow.
Denver's hailstorms hit like freight trains, turning solid roofs into Swiss cheese overnight.
One wrong move during installation, and you're staring at leaks, repairs, and skyrocketing bills before the first snow flies.
This guide cuts through the chaos with proven steps tailored for Denver homes, so you get a roof that laughs at our wild weather.
Let's dive into the details and build yours right.
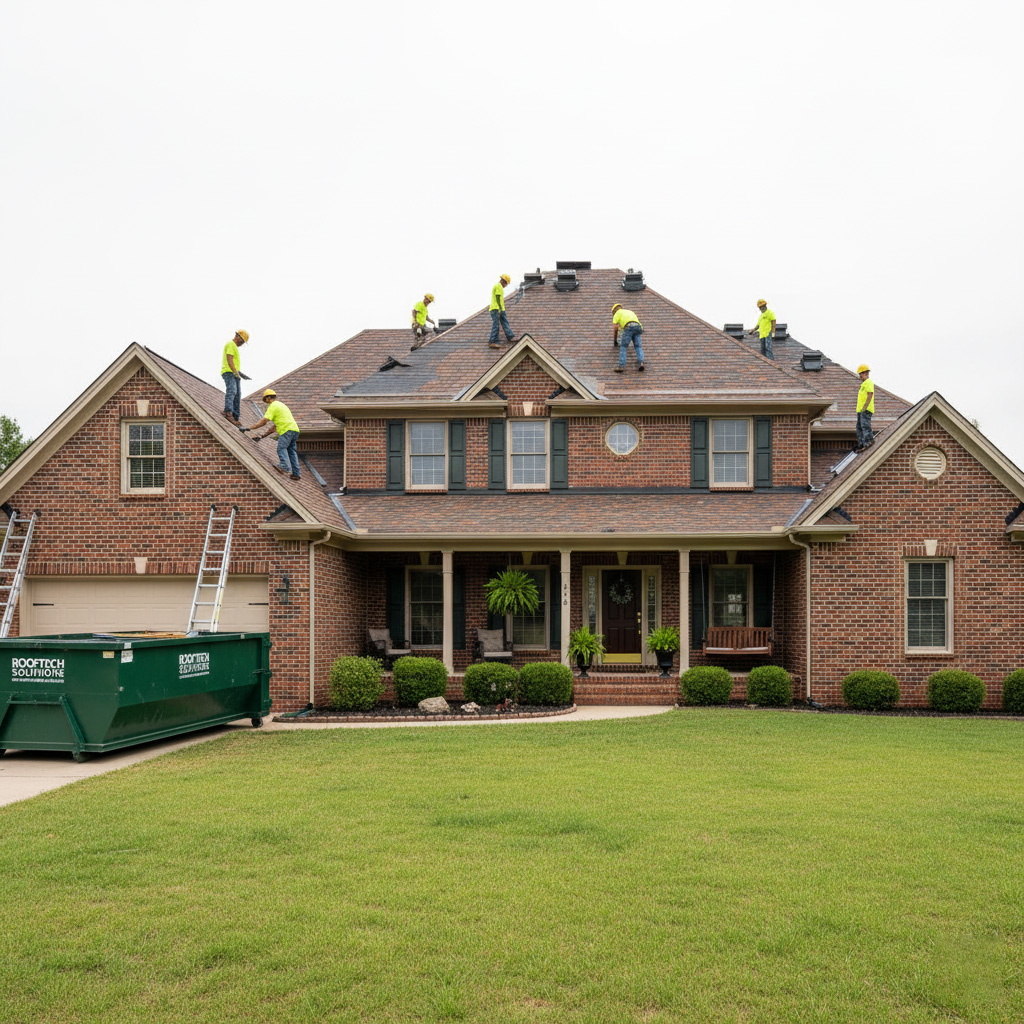
Denver's Roofing Challenges: Hail, Snow, and High Altitude Hurdles
Picture this: golf-ball-sized hail pummeling your roof during one of our sudden summer storms. These beasts don't just dent shingles; they crack them wide open, letting water sneak in like a thief. Denver sees more hail claims than almost anywhere else in the U.S., with storms packing up to 100 mph winds.
Snow adds its own punch. We pile up 60 inches a year on average, creating ice dams that back up water under shingles and rot your decking from the inside. Throw in rapid freeze-thaw cycles, and weaker roofs buckle fast.
- High altitude hits hard: Intense UV rays fade colors and brittle materials quicker up here at 5,280 feet.
- Wild temperature swings from 80°F days to sub-zero nights expand and contract everything, stressing seams.
- Chinook winds gust over 100 mph, ripping off loose shingles like paper.
Skip these realities, and your new roof fails in years, not decades. Smart homeowners plan for them upfront.
Selecting Durable Materials Built for Colorado's Brutal Weather
Colorado's weather doesn't mess around. Hail the size of golf balls, snow loads that crush weak spots, and sun that bakes everything at 5,000 feet. Pick wrong, and your roof fails fast.
Asphalt Shingles: The Hail-Resistant Champ
Go for Class 4 impact-rated asphalt shingles. They shrug off hail like it's nothing, backed by tests that simulate our worst storms. Lighter weight means less strain on older Denver homes.
- Expect 30-50 year lifespans with proper install.
- Granule coatings fight UV damage from high-altitude sun.
- Cost-effective upgrade that insurance companies love.
Metal Roofing: Snow-Shedding Powerhouse
Standing seam metal roofs excel here. Snow slides right off, cutting ice dam risks. Galvalume or aluminum holds up to wind gusts over 100 mph.
These last 50+ years. Fire-resistant too, a bonus in dry Colorado summers. Pair with cool pigments to beat the heat.
Skip cheap imports. Demand materials certified for Colorado's code, like those meeting FM 4473 hail ratings. Your wallet and peace of mind thank you.
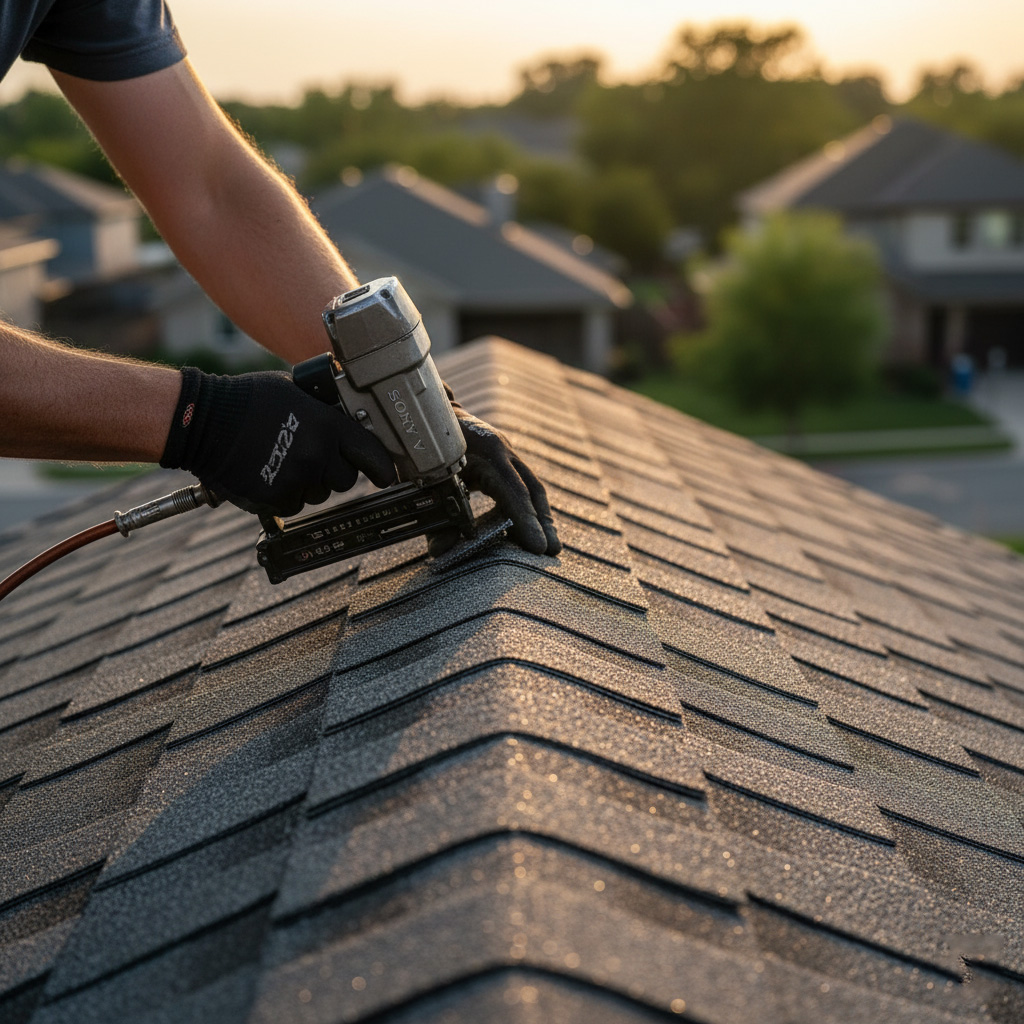
Pre-Installation Prep: Inspections, Permits, and Site Readiness
Start with a Thorough Inspection
Your roof's foundation sets the stage. Skip this, and new shingles slide off like butter in a hailstorm. Call in a pro for a full structural check, spotting weak rafters or hidden rot before they bite you later.
- Check decking for soft spots or water damage.
- Scan gutters and flashing for leaks.
- Assess ventilation to dodge ice dams come winter.
Document everything. Photos and reports keep you covered if surprises pop up mid-job.
Secure Those Permits Fast
Denver's code enforcers don't mess around. Pull permits early to dodge fines or shutdowns. Your contractor handles this, but know the basics: building permit for any tear-off over 100 squares, plus zoning checks for steep pitches.
Expect a 1-2 week wait. Rush it wrong, and inspectors halt work cold.
Prime the Site for Smooth Sailing
Clear the deck. Move ladders, grills, and patio furniture far from the drop zone. Tarp delicate plants; Denver winds whip debris like confetti.
Power down nearby AC units. Set up safety nets and walk-off mats. A clean site cuts install time by days and slashes accidents.
The Step-by-Step Roof Installation Process Explained
Day one kicks off with tearing off the old roof. Our crews haul away damaged shingles, underlayment, and debris fast. No shortcuts here - a clean slate prevents future headaches.
1. Deck Inspection and Repairs
Next, we check the roof deck for rot or weak spots. Plywood gets sistered or replaced if needed. This step saves you from sagging roofs down the line.
- Spot-check every rafter.
- Fix hail-damaged areas pronto.
- Seal gaps to block wind-driven rain.
2. Underlayment and Flashing
Roll out ice-and-water shield in valleys and eaves. Synthetic underlayment covers the rest for breathability. Metal flashing guards edges against Denver's freeze-thaw cycles.
Shingles go on in starter courses, then full runs. We nail them secure per code - three nails minimum for high winds. Ridge vents cap it off for airflow that fights ice dams.
3. Final Touches and Cleanup
- Magnetic sweep for stray nails.
- Install pipe boots and vents tight.
- Full walkthrough with you on-site.
Job wraps in 1-3 days, depending on roof size. Your new shield stands ready for the next hail barrage.
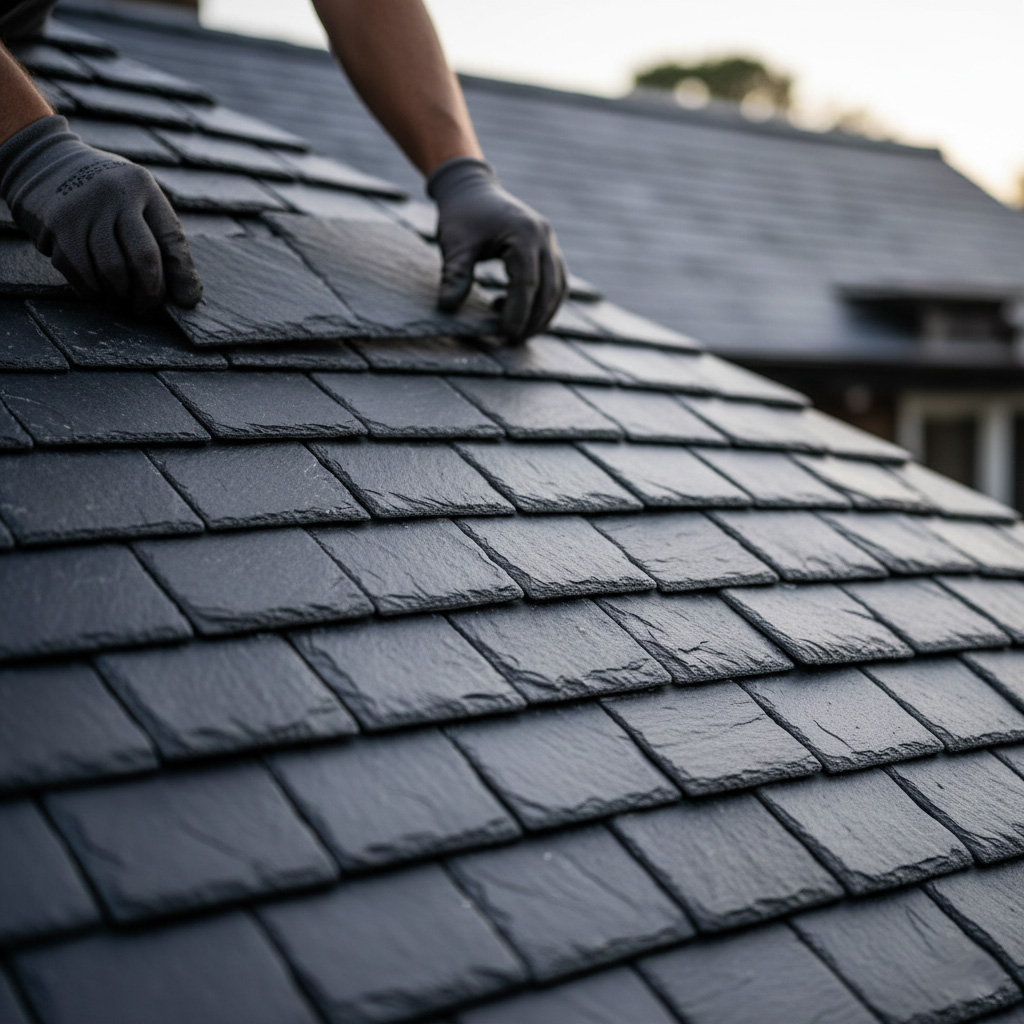
Case Study: Reviving a Lakewood Home After a Monster Hailstorm
A brutal hailstorm pummeled Lakewood last spring. Golf-ball-sized chunks shredded the old asphalt shingles on the Johnsons' ranch-style home. Water damage started creeping into the attic within days.
The Wreckage We Found
- Dents everywhere, like a beaten-up car hood.
- Granules stripped bare, exposing the underlayment.
- Soft spots on the ceiling below signaling trouble.
Insurance approved a full tear-off. We jumped in fast to beat the next snow.
How We Turned It Around
Team stripped the mess down to the decking. Patched a few weak boards. Rolled out impact-resistant Class 4 shingles from CertainTeed – perfect for Colorado's hail alley.
Added ice-and-water shield along the edges. Nailed synthetic underlayment for extra breathability. Finished with ridge vents to fight ice dams.
Results That Stuck
Homeowners got a 50-year warranty. No leaks through two winters now. Energy bills dropped 15% thanks to better ventilation.
They sleep easy. You can too.
Post-Installation Essentials: Inspections, Warranties, and Maintenance
Your new roof isn't set-it-and-forget-it. A quick final inspection spots any loose shingles or flashing issues before they turn into problems.
Call your crew back within a week. They'll climb up, check seals, and test for leaks. Peace of mind? Priceless.
Lock in Solid Warranties
Don't settle for paper promises. Demand manufacturer warranties covering 25-50 years on materials, plus 10-year workmanship from your installer.
Read the fine print. Hail damage? Wind uplift? Make sure it's spelled out for Denver's fury.
Keep It Battle-Ready with Maintenance
Twice a year, scan your roof after big storms. Clear debris from gutters. Spot soft spots or missing granules early.
- Inspect valleys and edges for cracks.
- Trim overhanging branches to cut wind damage risk.
- Schedule pro tune-ups every spring and fall.
Skip this, and that "lifetime" roof dies young. Stay on it. Your home stays dry.
Final Thoughts
Denver roofs take a beating year-round. Yours doesn't have to crumble under the pressure.
Stick to these steps, pick battle-tested materials, and hire pros who know our local storms inside out. That new roof becomes your home's unbreakable shield.
Quick Action Plan
- Schedule a free inspection today to spot weak spots.
- Grab permits early. No shortcuts.
- Lock in warranties that actually hold up.
Ready to bulletproof your Denver home? Jump over to our Roof Installation page and get a quote that fits your budget.
Don't wait for the next hail barrage. Act now. Sleep easy through every blizzard.
People Also Ask
How much does roof installation cost in Denver?
Roof installation costs in Denver typically range from $8,000 to $25,000, depending on roof size, materials, and complexity. Factors like hail-resistant asphalt shingles or metal roofing for Colorado weather can increase prices, but they offer long-term savings. Get a free estimate from local experts to understand your specific needs.
What is the best roofing material for Denver's weather?
Impact-resistant asphalt shingles or metal roofing are ideal for Denver's hail, heavy snow, and high winds. These materials withstand Colorado's brutal conditions better than standard options, with Class 4 impact ratings providing superior protection. Choose materials certified for high-altitude performance to ensure durability.
How long does it take to install a new roof in Denver?
A standard roof installation in Denver takes 1-3 days for most homes, depending on size and weather. Complex jobs with steep pitches or extensive repairs may extend to a week. Professional crews prioritize efficiency while ensuring quality workmanship.
Do I need a permit for roof replacement in Denver?
Yes, Denver requires permits for most roof replacements to ensure code compliance and safety. Your roofing contractor typically handles the application through the city's permitting process. Always verify with local authorities for tear-off roofs or material changes.
How do I maintain my new roof after installation in Denver?
Schedule annual inspections to check for hail damage, ice dams, or debris buildup common in Denver. Clear gutters regularly and trim overhanging branches to prevent wear. Follow manufacturer warranties with proper upkeep for 30+ years of protection.

Denver Roofing offers extensive experience in residential and commercial roofing services throughout the Denver area. Their team specializes in repairs, installations, and maintenance suited to Colorado's unique weather challenges. Deeply rooted in the Denver, CO community, they deliver reliable solutions for local homeowners and businesses.
Need Roofing?
Fast roof repairs and replacements for lasting protection in Denver, CO and nearby areas (80202, 80203, 80204, 80205, 80206).
Get Roof Quote